
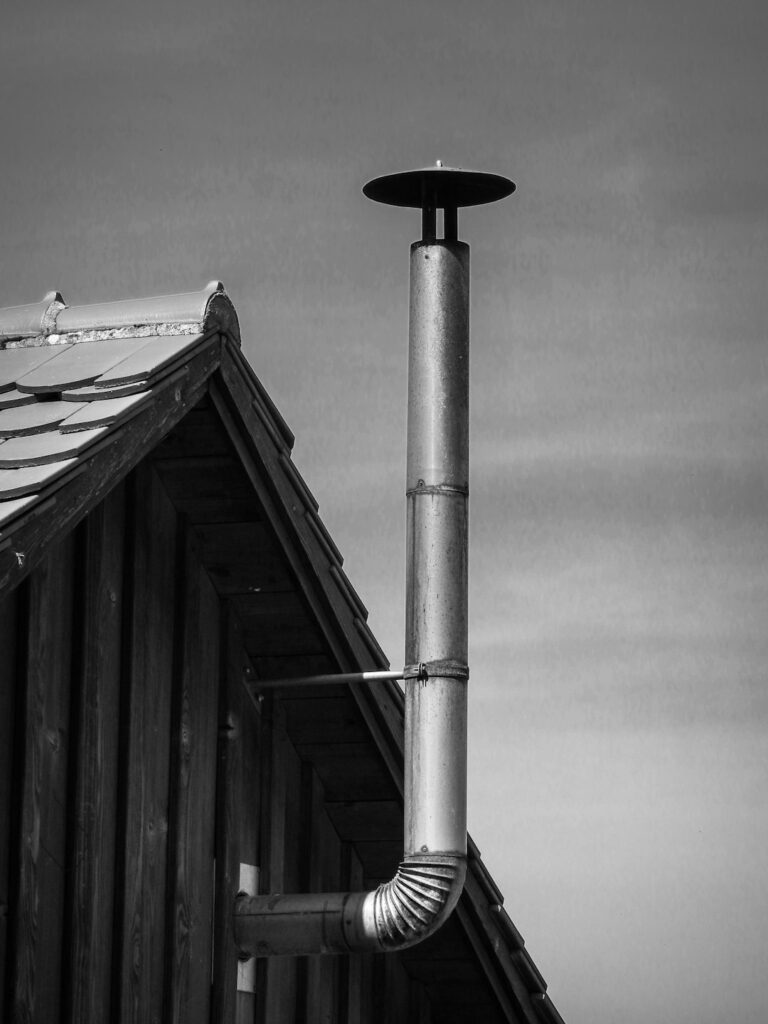
Roof penetrations are any openings where a pipe, vent, chimney, skylight, wiring conduit, antenna, or other object passes through the roof. These locations need more than a bead of caulk. A durable seal depends on properly layered flashing, underlayment, fasteners, and compatible sealants that direct water around the opening and back onto the roof surface.
In Ogdensburg, NY, roof penetrations must withstand rain, snow, ice, freeze-thaw cycles, wind, and occasional snow buildup. A repair that appears watertight during a dry afternoon may fail after several rounds of expansion, contraction, and winter weather.
What makes a roof penetration vulnerable?
A roof penetration interrupts the continuous surface that normally sheds water downhill. Water can collect along the uphill side, around fasteners, or beneath roofing materials if the opening is not integrated correctly.
Common penetrations include:
- Plumbing vent pipes
- Bathroom and kitchen exhaust vents
- Chimneys and metal flues
- Skylights
- Electrical conduits
- Satellite or antenna mounts
- Solar equipment attachments
- Furnace and appliance vents
- Roof-mounted hardware and supports
The highest-risk areas are usually the upper, or upslope, side of the penetration and any location where flashing overlaps incorrectly. Water may enter several feet away from the visible ceiling stain because it can travel along roof decking, rafters, insulation, or framing before appearing indoors.
Is caulk enough to seal a roof penetration?
No. Caulk is a supplemental seal, not the primary waterproofing system. Roof flashing should carry and redirect water, while sealant helps close small joints and prevent water from entering behind the flashing.
A proper assembly generally includes:
1. The roof deck around the opening
2. Underlayment or an approved self-adhering membrane
3. A flashing component fitted to the penetration
4. Roofing material installed in the correct overlapping order
5. Compatible sealant at specific joints or fastener locations
A heavy layer of roofing cement may temporarily slow a leak, but it does not correct missing or incorrectly installed flashing. Thick surface patches can also crack, hide deterioration, and make future repairs more difficult.
How should a plumbing vent pipe be sealed?
A plumbing vent pipe is normally sealed with a purpose-made roof flashing that fits the pipe diameter and roof covering. The flashing base should lie flat on the roof, with the lower portion positioned over the roofing material and the upper portion integrated beneath the upslope courses.
The general installation sequence is:
- Remove enough surrounding roofing material to expose the deck and allow proper layering.
- Inspect the deck for rot, soft spots, or water damage.
- Install compatible underlayment around the opening, extending beyond the penetration.
- Slide the flashing over the pipe or install it according to the flashing design.
- Place the flashing so water flows onto, rather than behind, the lower roofing courses.
- Reinstall or replace roofing materials around the base.
- Use sealant only where the flashing design requires it.
- Fasten the flashing with appropriate corrosion-resistant fasteners and cover exposed fastener heads when specified.
The rubber or elastomeric collar around a vent pipe can become brittle from age and temperature changes. If the collar is cracked, split, or no longer tight around the pipe, applying sealant over it is usually a short-term patch rather than a dependable repair.
How are chimneys and wide penetrations handled?
Chimneys and wide roof openings require a more extensive flashing system than a small round pipe. Base flashing should connect the chimney or penetration to the roof, while counterflashing protects the upper edge of the base flashing from water.
For a chimney, flashing may include:
- Step flashing along the sides
- Continuous or headwall flashing on the uphill side
- Counterflashing cut into or attached to the masonry
- A properly sealed chimney cap
- A cricket or saddle behind a wide chimney where needed
A cricket is a small raised structure that divides water and snow around the uphill side of a wide obstruction. Building standards commonly require this type of diversion for broad penetrations above a specified width. Snow and ice can remain against a chimney for long periods, so the uphill flashing area deserves careful attention in northern climates.
Mortar joints, chimney caps, and masonry can also absorb water. A roof leak near a chimney is not always caused by the roof flashing alone.
How should roof vents and exhaust fans be sealed?
Exhaust vents should discharge outdoors through a properly flashed roof cap, not into an attic or enclosed roof space. The duct connection must be secure, and the exterior cap should include a weather-resistant hood or damper suitable for the application.
For bathroom and kitchen exhaust systems:
- Keep the duct as short and direct as practical.
- Insulate ductwork passing through a cold attic when condensation is possible.
- Ensure the duct slopes or is arranged so moisture does not collect and drain back toward the fan.
- Seal the connection between the duct and roof cap with compatible materials.
- Verify that the roof cap flashing is integrated with the roofing courses.

A vent that releases warm, moist air into an attic can create frost, wet insulation, mold-friendly conditions, and wood damage during cold weather. Sealing the roof opening does not solve the problem if the ventilation duct itself terminates in the attic.
What is the proper role of underlayment?
Underlayment provides a secondary water-shedding layer below the visible roof covering. Around penetrations, it should be installed so water is directed downslope and overlaps are arranged like shingles: upper layers cover the top edges of lower layers.
Self-adhering roofing membrane can add protection around vulnerable openings, especially where ice dams or wind-driven precipitation are concerns. It should be compatible with the roof covering, deck, flashing, and local installation requirements.
The membrane should not be treated as a substitute for correctly shaped metal or manufactured flashing. It is part of a layered system. If it is cut too tightly, folded improperly, or trapped beneath materials in the wrong order, it may not provide reliable protection.
Which sealants work best around roof penetrations?
The correct sealant depends on the materials and the location of the joint. Common products include roofing-grade elastomeric sealants, polyurethane sealants, and manufacturer-approved flashing sealants.
Before applying any sealant:
- Remove loose debris, failed caulk, oil, and surface dirt.
- Allow wet materials to dry when the product requires a dry surface.
- Confirm that the sealant is compatible with metal, rubber, membrane, shingles, and masonry.
- Follow the temperature limits on the product label.
- Avoid sealing drainage paths that are designed to remain open.
- Do not cover concealed rot or deteriorated flashing without correcting the underlying problem.
Silicone is not automatically the best choice for every roofing application. Some types do not bond well to dusty roofing surfaces or certain membranes, and some can interfere with later repairs. Compatibility matters more than the name of the product.
Can homeowners inspect these areas safely?
A ground-level inspection is often useful, but walking on a roof adds fall risk and can damage shingles, especially in cold weather. A safer inspection may include looking from the ground with binoculars, checking the attic for daylight or damp wood, and examining ceilings and upper walls after heavy rain.
Warning signs include:
- Rusted or lifted flashing
- Cracked pipe collars
- Missing shingles near a penetration
- Dark roof-deck stains in the attic
- Damp insulation
- Peeling paint or bubbling drywall
- Water marks that appear after snow or ice events
- Sagging sheathing or framing
Roof work should not be attempted during icy, wet, windy, or snowy conditions. Electrical equipment, chimneys, steep slopes, and fragile roofing materials create additional hazards. Structural damage, active leaks near wiring, damaged flues, or extensive chimney deterioration require specialized evaluation for safety and code compliance.
How can roof penetrations be maintained?
Inspect penetrations at least twice a year when conditions allow, particularly after winter and after major wind or ice events. Look for movement, cracked sealant, missing fasteners, damaged collars, and debris collecting on the uphill side.
Do not pressure-wash flashing or scrape aggressively around pipe boots. Keep branches, leaves, and accumulated debris from blocking drainage around roof openings. If a roof is replaced, every penetration should be reviewed rather than automatically reused. Old collars, cracked flashing, and improperly sized components can continue leaking beneath a new roof covering.
A properly sealed roof penetration is not simply covered from above. It is connected to the complete roof system so water, air, snow, and seasonal movement are managed through durable layers in the correct order.